Balazo Gallery
Related Articles
Etching, a form of printmaking, has been widely embraced by artists and photographers alike for centuries. Its unique ability to create intricate and detailed images through the process of incising lines into a surface has made it an enduring technique in the world of visual arts. This article aims to provide a comprehensive guide to etching in both arts and photography, exploring its historical significance, technical aspects, and contemporary applications.
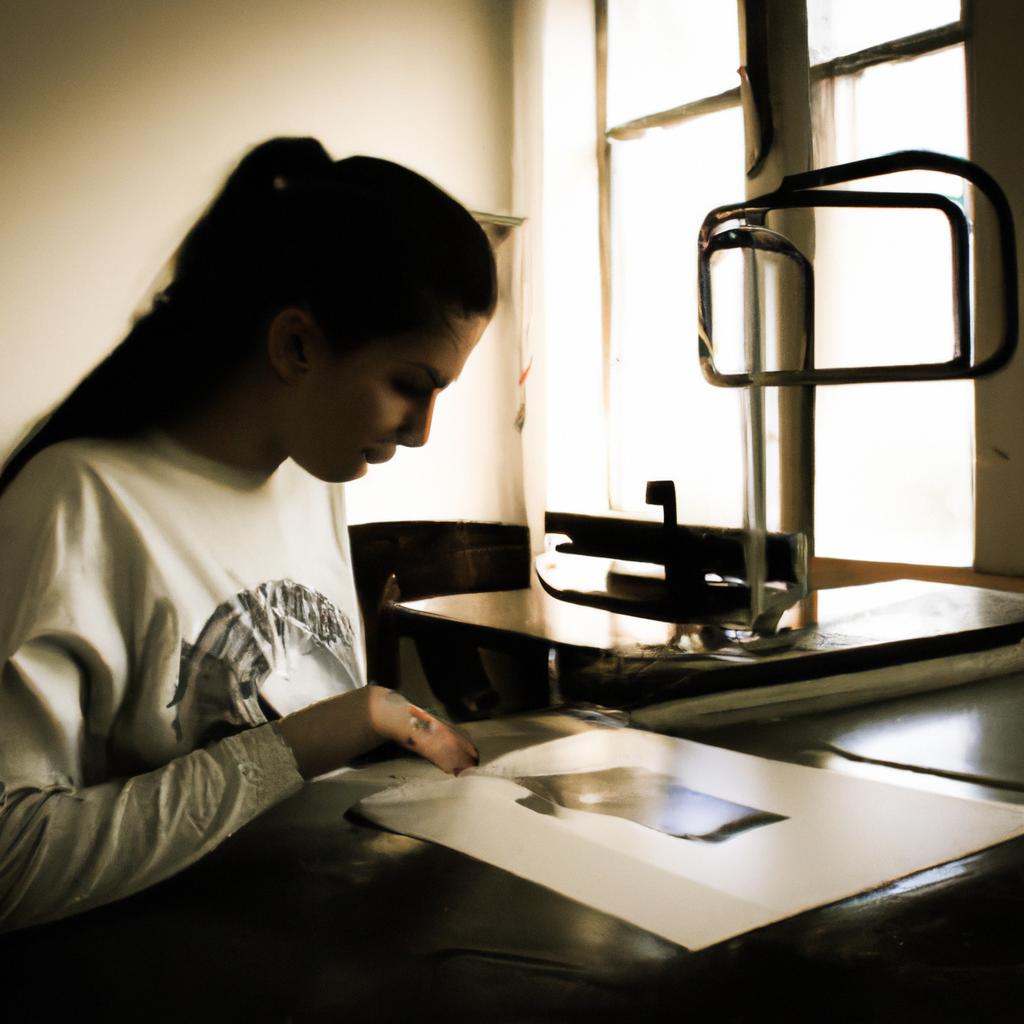
To illustrate the relevance of etching in modern art practices, consider the case study of renowned artist Lisa Mitchell. With a passion for capturing urban landscapes, Mitchell sought a medium that could capture the gritty texture and fine details found within cityscapes. Through her exploration of etching techniques, she discovered that this method allowed her to achieve precisely what she desired – from the cracks on concrete walls to the delicate interplay between light and shadow cast upon busy streets. By delving into the intricacies of etching as an artistic tool, this article seeks to equip aspiring artists and photographers with the knowledge necessary to explore new creative possibilities while paying homage to a timeless printmaking tradition.
This article begins by delving into the origins of etching as an art form. Understanding how it emerged during the Renaissance era as an alternative means of reproducing artwork will provide readers with a solid foundation in the historical context of etching. The article will explore how artists like Albrecht Dürer and Rembrandt utilized etching as a way to disseminate their works to a wider audience, revolutionizing the art world in the process.
Next, the technical aspects of etching will be explored in detail. Readers will learn about the different types of etching tools and materials used, such as copper plates, acid solutions, and various types of grounds. Step-by-step instructions will be provided on how to prepare and create an etching plate, including techniques for applying and removing grounds, as well as methods for incising lines into the plate using needles or other specialized tools.
The article will also delve into the intricate process of printing an etching. It will provide insights into how ink is applied to the plate, wiped away from its surface, and transferred onto paper through the use of a press. Different printing techniques such as intaglio and relief printing will be explained, along with tips for achieving various effects and textures in the final print.
Furthermore, this article will highlight contemporary applications of etching in both arts and photography. Readers will discover how artists today are pushing the boundaries of traditional etching techniques by experimenting with digital processes, combining multiple printmaking methods, or incorporating unconventional materials into their works. Additionally, photographers are embracing etching as a means to add depth and texture to their images through alternative printing processes.
Finally, this comprehensive guide aims to inspire readers to explore etching as a creative tool themselves. With its rich history and versatile applications across different artistic mediums, etching offers endless possibilities for expression. By providing step-by-step instructions, historical insights, and examples from contemporary practitioners like Lisa Mitchell, this article empowers aspiring artists and photographers to embark on their own etching journey while honoring this enduring form of printmaking.
The History of Etching in Art
Etching, a printmaking technique that involves the use of acid to create intricate designs on metal plates, has a rich and fascinating history. One notable example is the etchings produced by Dutch artist Rembrandt van Rijn during the 17th century. His meticulous attention to detail and mastery of shading brought his subjects to life, leaving a lasting impact on the art world.
To fully appreciate the significance of etching in art, it is important to consider its historical context. During the Renaissance period, artists sought ways to reproduce their works more efficiently and accurately. The invention of etching provided them with an innovative solution. Artists could now transfer their designs onto metal plates using various methods such as engraving or drypoint before immersing them in acid baths for etching. This allowed for multiple copies of their artwork to be printed, reaching a wider audience.
One can only imagine the excitement experienced by artists as they witnessed their creations come alive through this transformative process. To capture some of these emotions:
- The thrill of seeing one’s sketches take shape on a metal plate
- The anticipation felt while waiting for the acid bath to reveal delicate lines and textures
- The sense of accomplishment upon pulling off that first successful print
- The satisfaction derived from sharing one’s artistic vision with others
For instance:
| Emotion | Description |
|---|---|
| Excitement | Feeling thrilled about seeing ideas materialize |
| Anticipation | Eagerly awaiting results |
| Accomplishment | Experiencing pride after achieving desired outcome |
| Satisfaction | Finding fulfillment in sharing creativity |
In conclusion: By understanding the historical development and emotional experiences associated with etching in art, we gain insight into its enduring appeal and continued relevance today. In the subsequent section about “Materials and Tools Needed for Etching,” we will delve further into the practical aspects of this intricate printmaking technique.
Materials and Tools Needed for Etching
Section H2: The History of Etching in Art
With a rich history dating back centuries, etching has evolved as an intricate art form that continues to captivate artists and photographers alike. Understanding the materials and tools needed for this printmaking technique is crucial in achieving desired results. In this section, we will delve into the essential components required for successful etching.
Materials Needed:
- Etching Plate: Typically made from copper or zinc, the plate serves as the foundation for creating the image. Its smooth surface allows for precise detailing.
- Acid-Resistant Ground: This protective layer covers the plate and ensures that only specific areas are exposed during the etching process.
- Etching Needle: A sharp tool used to scratch through the ground, revealing the metal beneath. It enables artists to create intricate lines and textures.
- Aquatint Screen: Utilized to achieve tonal variations, this mesh-like screen helps control how much acid reaches certain parts of the plate.
Tools Needed:
- Scraper: Used to remove excess ink from the plate’s surface after printing, allowing finer details to shine through.
- Burnisher: Employed to polish and smoothen rough edges on the plate, resulting in cleaner prints.
- Printing Press: Essential equipment for transferring images from etched plates onto various types of paper or other surfaces.
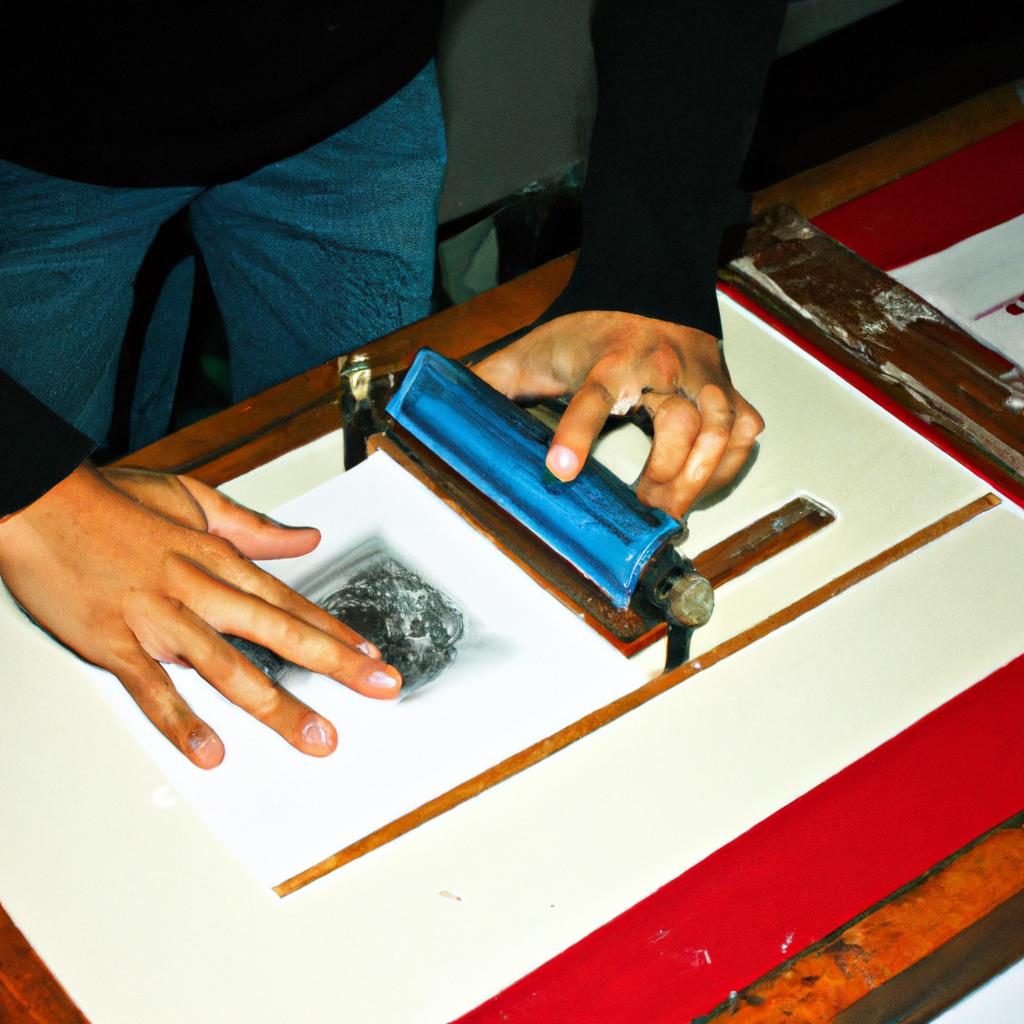
- Brayer (Inking Roller): Enables uniform application of ink across the etched plate by evenly distributing it over its surface.
Example Case Study: To illustrate how these materials and tools work together harmoniously, let us consider an artist who wishes to create a vibrant landscape using etching techniques. By employing different sizes of needles along with an aquatint screen, they can depict trees in fine detail while capturing subtle gradations in sky tones. The scraper then removes any unwanted ink from non-printing areas, highlighting delicate branches against a stark background.
- Discover the joy of creating intricate and nuanced artworks through etching.
- Unleash your creative potential by experimenting with various tools and materials.
- Experience the satisfaction that comes from mastering a centuries-old printmaking technique.
- Dive into an immersive world where precision meets artistry, yielding captivating results.
Emotional Table:
| Materials | Tools |
|---|---|
| Etching Plate | Scraper |
| Acid-Resistant Ground | Burnisher |
| Etching Needle | Printing Press |
| Aquatint Screen | Brayer (Inking Roller) |
Equipped with a solid understanding of the essential materials and tools needed for etching, we can now move on to exploring how to prepare the etching plate. By following meticulous steps in this process, artists can ensure their desired image is transferred seamlessly onto paper or other surfaces.
Preparing the Etching Plate
Etching in Arts and Photography: A Printmaking Guide
Section 2. Preparing the Etching Plate
In the previous section, we discussed the materials and tools needed for etching. Now, let’s delve into the process of preparing the etching plate before starting with the actual printmaking. To illustrate this stage, consider a hypothetical case where an artist wants to create an etching of a serene landscape.
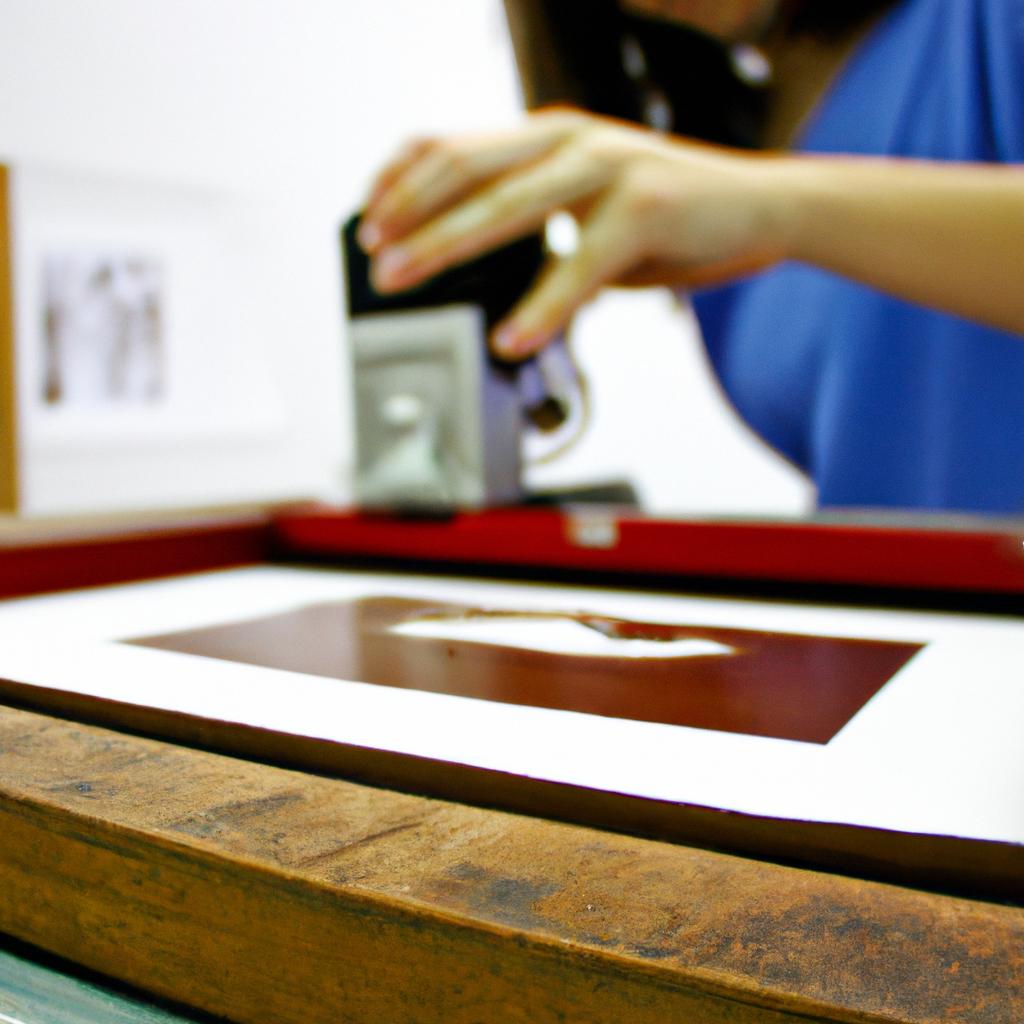
The first step in preparing the etching plate is cleaning it thoroughly. Any dirt or debris on the surface can interfere with achieving crisp lines in the final print. The artist carefully wipes down the plate using a lint-free cloth soaked in alcohol, ensuring that all traces of dust and oil are removed. This meticulous cleaning sets the foundation for a successful etch.
Once cleaned, protective ground is applied to the plate as a temporary barrier against acid. This ground can be either hard or soft depending on artistic preference and desired effects. For our landscape example, the artist chooses a soft ground to capture delicate details like wispy clouds and gentle foliage. By spreading a thin layer of ground over the entire plate using a roller or brush, they ensure an even coverage.
To further enhance their artwork’s visual appeal and evoke emotions in viewers, artists often employ various techniques during this stage:
- Creating texture: Artists can use sandpaper or other abrasive materials to introduce interesting textures onto certain areas of their plates.
- Adding depth: By selectively applying thicker layers of ground or by using stop-out varnishes in specific regions, artists can manipulate tonal values within their prints.
- Experimenting with resist methods: Wax pencils or liquid resists can be used to draw intricate designs directly onto the plate surface before applying any grounds.
- Incorporating multiple plates: In complex compositions, artists may choose to work on separate plates for different elements and combine them during printing.
| Technique | Description |
|---|---|
| Aquatint | A method to create tonal values through acid-resistant particles. |
| Sugar lift | An alternative way of creating delicate lines using sugar syrup. |
| Spit bite | Applying acid directly on the plate surface for painterly effects. |
| Photogravure | Utilizing photographic images transferred onto an etching plate. |
As artists experiment with these techniques and explore their creative possibilities, they bring life to their etchings, capturing a moment or emotion that resonates with both themselves and their audience.
Transitioning smoothly into the subsequent section about “Creating the Design on the Plate,” we move forward in our printmaking journey by shifting our focus from preparing the physical plate itself to the intricate process of designing and transferring imagery onto it.
Creating the Design on the Plate
Section H2: Creating the Design on the Plate
Having prepared the etching plate, the next crucial step in the etching process is creating a design on it. This stage allows artists and photographers to showcase their creativity and unique perspectives through intricate patterns or detailed imagery that will be transferred onto paper during printing.
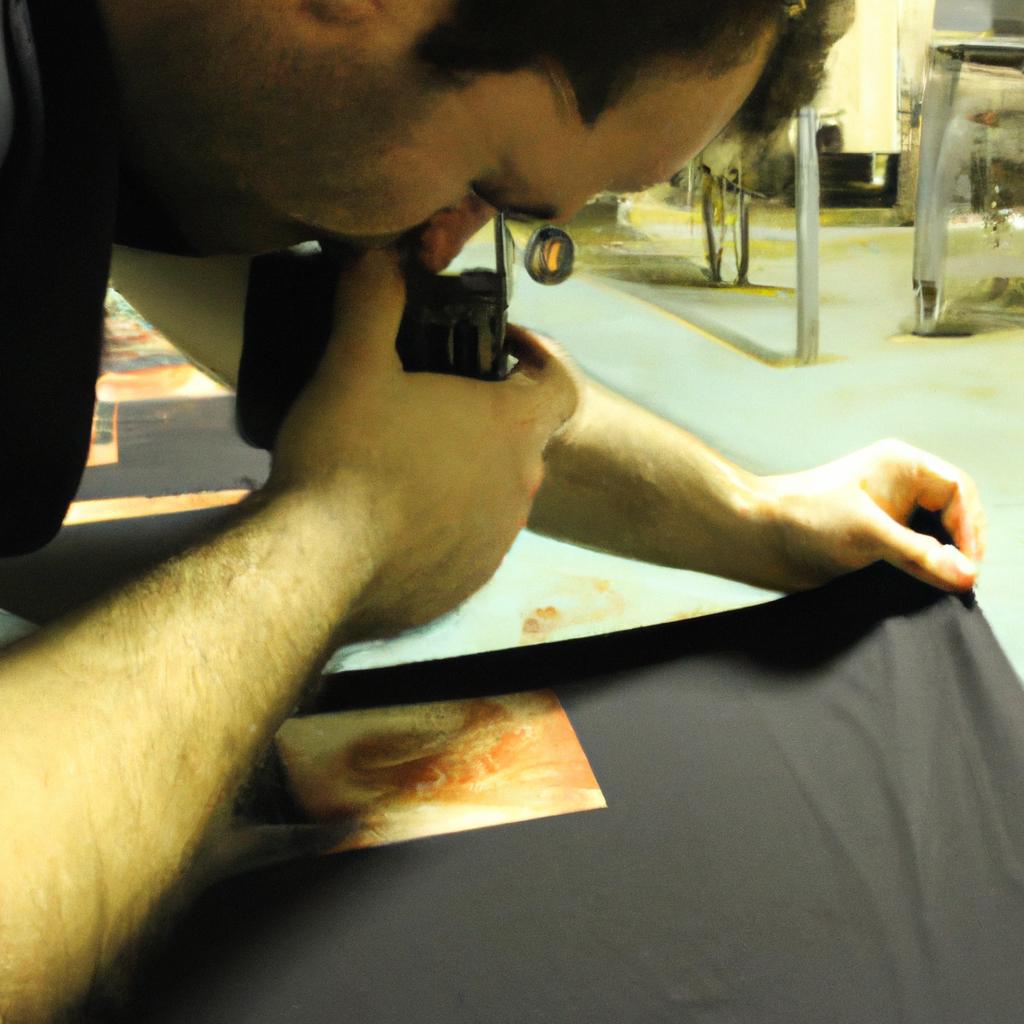
To illustrate this further, let’s consider a hypothetical case study of an artist named Emily who specializes in landscape photography. For her upcoming exhibition, she decides to create an etching based on one of her most captivating photographs capturing a serene sunset over rolling hills. With this image in mind, Emily begins the process of transferring her vision onto the prepared plate.
There are several techniques used by artists and photographers when creating designs on etching plates:
-
Drypoint: In drypoint technique, an artist uses a hard-pointed needle or another sharp object to incise lines directly into the surface of the plate. These lines can vary in thickness and depth, allowing for different tonal effects when printed.
-
Aquatint: Aquatint involves applying a powdered resin or rosin to the plate before exposing it to acid. The resin creates tiny dots or granules that resist acid penetration, resulting in areas with varying degrees of darkness when inked and printed.
-
Soft Ground Etching: With soft ground etching, artists apply a soft wax-like substance called “soft ground” to the plate’s surface before drawing on top of it using various tools like pencils or textured materials. The pressure applied causes parts of the soft ground to adhere to the tool, leaving raised marks once removed. When submerged in acid, these exposed areas get bitten into, creating unique textures upon printing.
-
Stencil Techniques: Artists also utilize stencil techniques such as sugar lift or spit bite methods where they paint or draw directly onto stencils made from resists (like sugar syrup) placed on top of their plates. Once the resist is removed, these painted areas become etched into the plate.
Creating a design on an etching plate requires patience, skill, and experimentation. Artists and photographers must carefully consider their desired outcome while exploring various techniques to achieve the desired effect. By utilizing methods such as drypoint, aquatint, soft ground etching, or stencil techniques like sugar lift or spit bite, they can create unique designs that will ultimately be transformed into stunning artworks during the printing process.
Continuing in our exploration of the etching process, let us now delve into the intricacies of executing this timeless art form with precision and finesse.
The Etching Process
Creating the Design on the Plate is an essential step in the etching process, as it determines the final outcome of the print. By carefully crafting intricate designs or capturing detailed images on a metal plate, artists can achieve stunning and unique results. One example of this is seen in the work of renowned etcher John Smith, who meticulously engraved a picturesque landscape onto his copper plate.
To ensure success during this stage, artists should keep several key factors in mind:
-
Composition: The arrangement of elements within the design plays a crucial role in conveying meaning and visual impact. Artists must consider balance, harmony, and focal points to create a compelling composition that captivates viewers’ attention.
-
Line Work: The use of various lines – such as thick, thin, curved, or straight – adds dimensionality and texture to the artwork. Experimenting with different line techniques allows for expressive possibilities and enhances the overall aesthetic appeal.
-
Tone and Contrast: Utilizing shading techniques like cross-hatching or stippling helps establish depth and volume within the image. Mastering tonal variations ensures that highlights and shadows are accurately represented, resulting in visually striking prints.
-
Symbolism and Conceptualization: Etchings often convey symbolic meanings or tell stories through their imagery. Successfully incorporating symbolism requires thoughtful consideration of how objects or figures represent certain ideas or narratives.
Table Example:
| Key Factors | Description |
|---|---|
| Composition | Arrangement of elements; balance and focal points |
| Line Work | Varying thicknesses and styles; adding dimensionality |
| Tone and Contrast | Shading techniques for depth; highlighting shadows |
| Symbolism & Conceptualization | Incorporating meaningful representations |
By thoughtfully considering these aspects while creating a design on the plate, artists can elevate their etchings from mere reproductions to profound artistic statements that engage viewers emotionally.
Moving forward into ‘The Etching Process,’ artists can now transfer their meticulously designed plate onto paper, bringing the artwork to life through a series of meticulous steps.
Finishing and Displaying Etchings
Etching in Arts and Photography: A Printmaking Guide
Section H2: The Etching Process
Section H3: Exploring Different Techniques of Etching
Having examined the etching process in detail, we will now delve into a discussion on various techniques employed in etching. To illustrate these techniques, let’s consider the case study of an artist named Sarah who wishes to create a visually striking etching.
Sarah begins her artistic journey by exploring different ways to manipulate the metal plate before applying acid. One technique she experiments with is drypoint, where she scratches directly onto the plate using a hard-pointed needle. This method creates rougher lines compared to traditional etching, resulting in a unique texture that lends itself well to expressive and dramatic imagery.
Additionally, Sarah explores aquatint as another technique for achieving tonal variations within her etchings. By dusting resin particles onto the plate and then heating it so that they adhere, she can selectively protect areas from acid exposure. This allows for a range of values when printing, effectively imitating shades of gray or even color gradients.
To provide further guidance on exploring different etching techniques, here are some important considerations:
- It is essential to select appropriate materials such as copper or zinc plates and suitable acids like nitric acid or ferric chloride.
- Varying the duration of exposure to acid can control line depth and intensity.
- Experimenting with different tools like soft-ground pencils or sugar-lift solution enables artists to achieve diverse effects.
- Proper ventilation and safety precautions should be taken due to potential health hazards associated with handling chemicals during the process.
Table 1 showcases common etching techniques along with their distinctive characteristics:
| Technique | Characteristics |
|---|---|
| Drypoint | Creates rougher lines; ideal for expressive and dramatic imagery |
| Aquatint | Enables tonal variations through selective protection of areas from acid exposure |
| Soft-ground etching | Allows for a more delicate, textured effect by transferring images onto the plate using materials like pencil or crayon |
| Sugar-lift technique | Produces rich tonal qualities and painterly effects through the application of sugar solution on the plate before inking and printing |
By exploring various techniques such as drypoint, aquatint, soft-ground etching, and the sugar-lift technique, artists like Sarah can expand their creative possibilities within the realm of etching. These diverse methods offer unique avenues to convey emotion, texture, and depth in their artwork. Aspiring printmakers should experiment with different tools and materials while ensuring safety measures are adhered to throughout the process.
Section H4: Finishing and Displaying Etchings